Miatav8,MstrASE,A&P,F wrote:
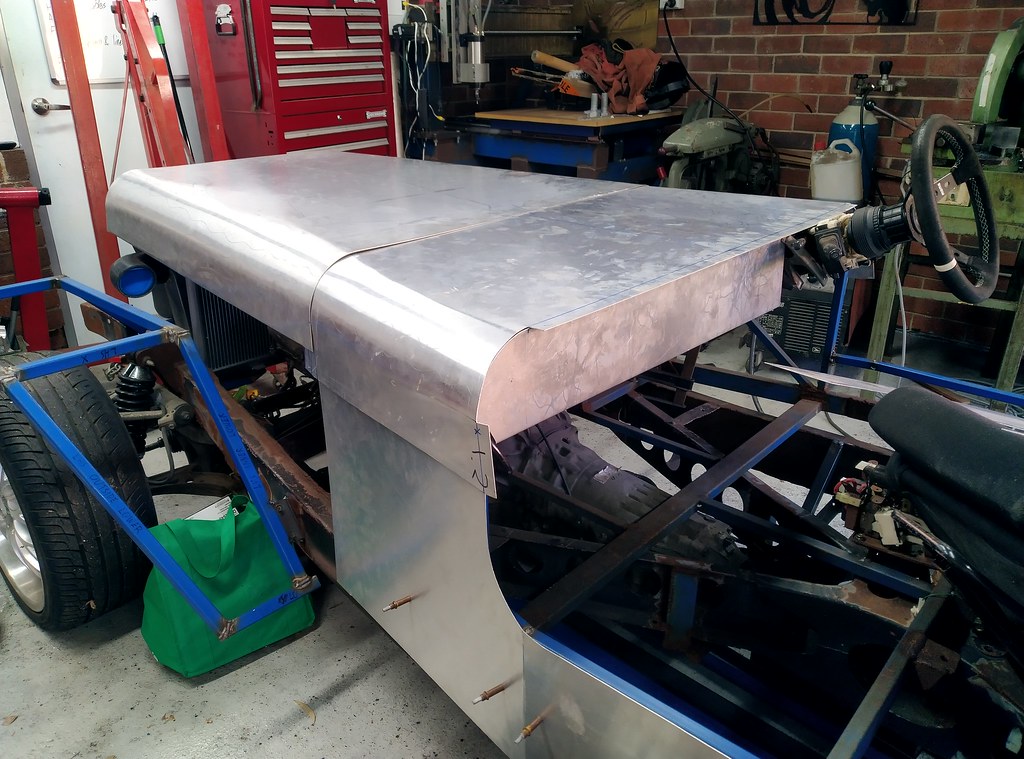
You might like to taper the fenders with sloping front and rear horizontal tubes. The cover panel would still be flat and you'd still cover the axle centerline at ride height (assuming it is required).
You could slope the tops as well but that would look too much like a modern jeep for the rules.
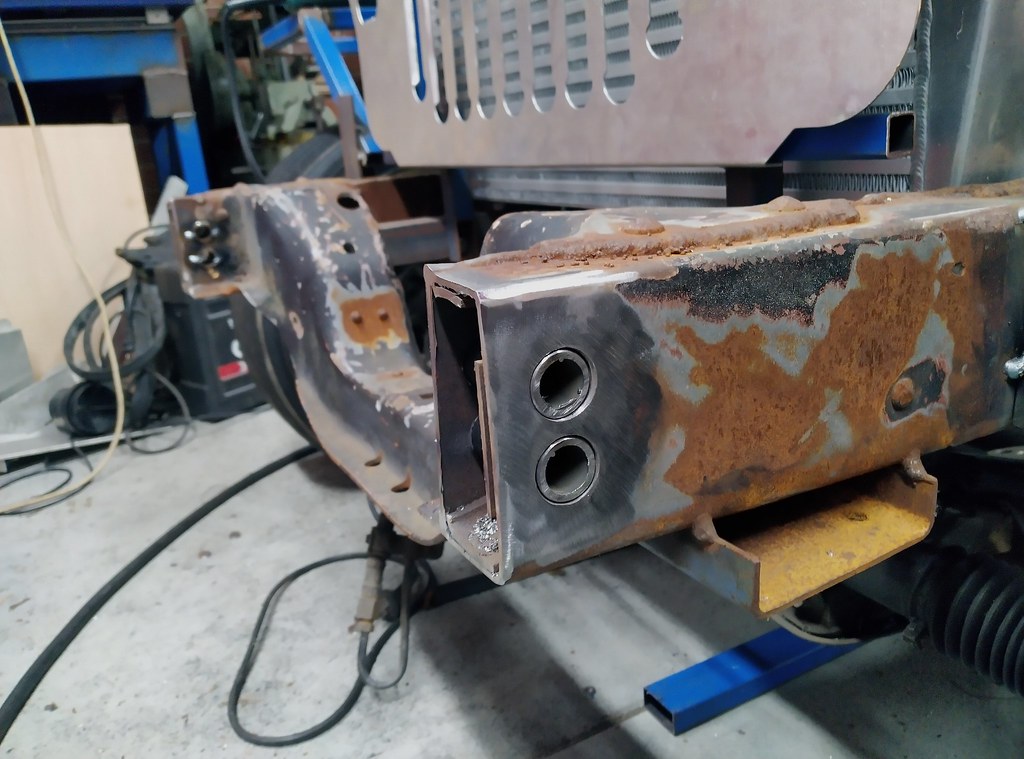
That would actually look so much better, thanks mate. I might initially just round the corners because that will be a lot simpler to retrofit and at this point I just want the car done, but I'll keep that idea in mind for when I have motivation to cut them apart

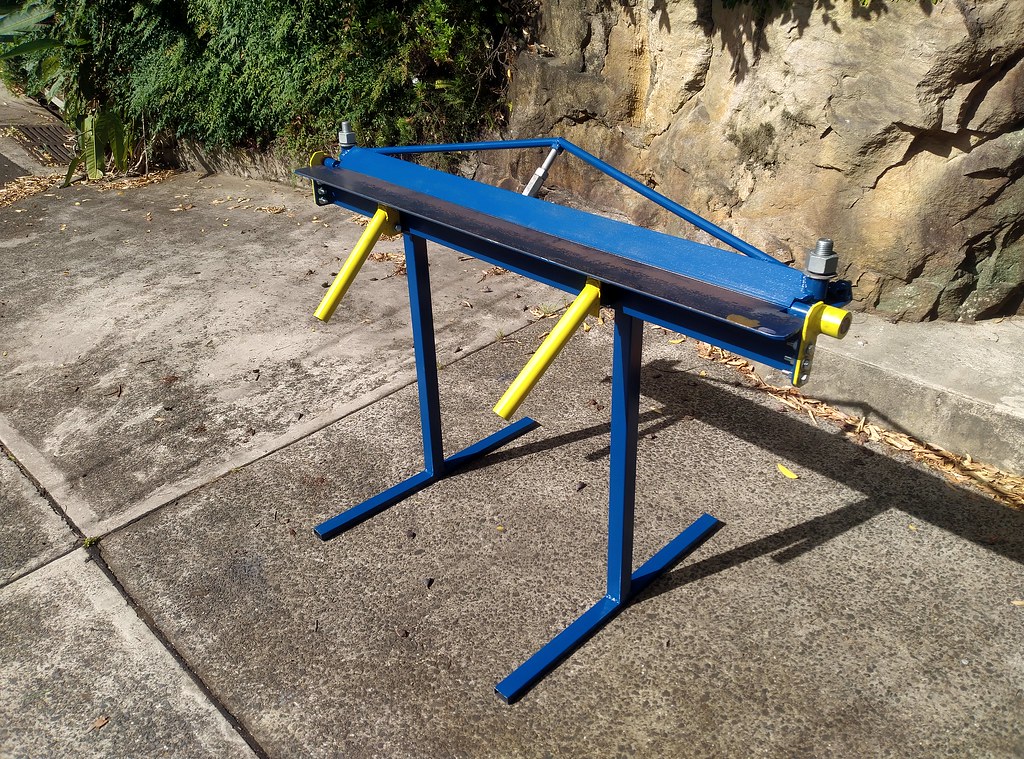
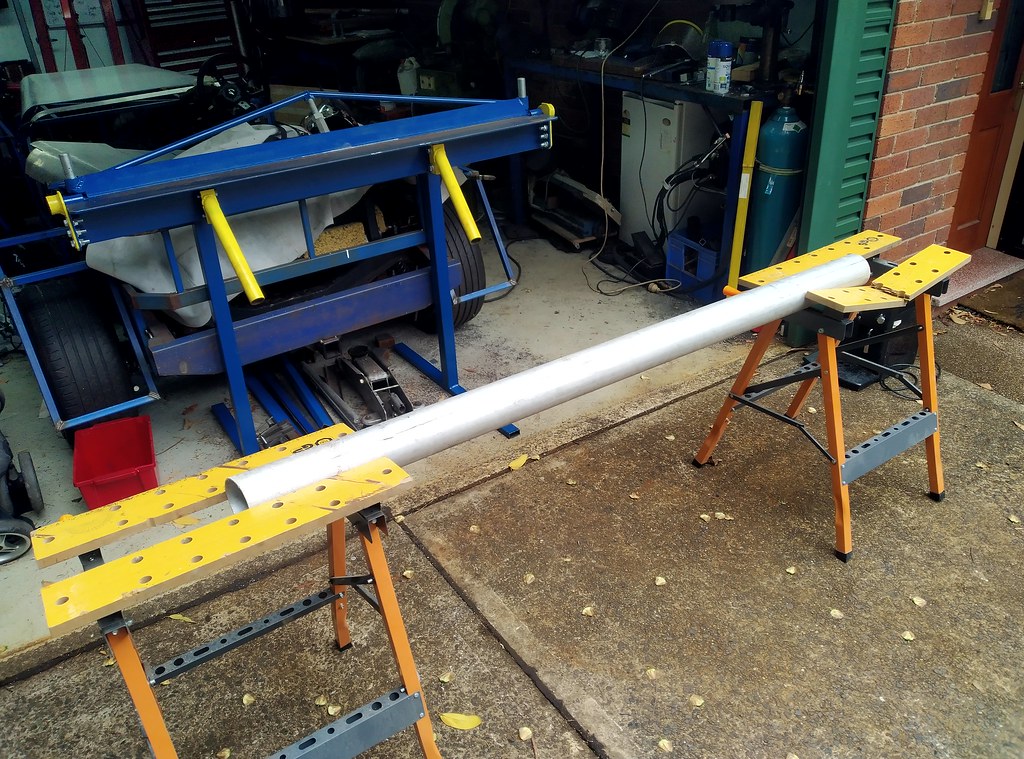
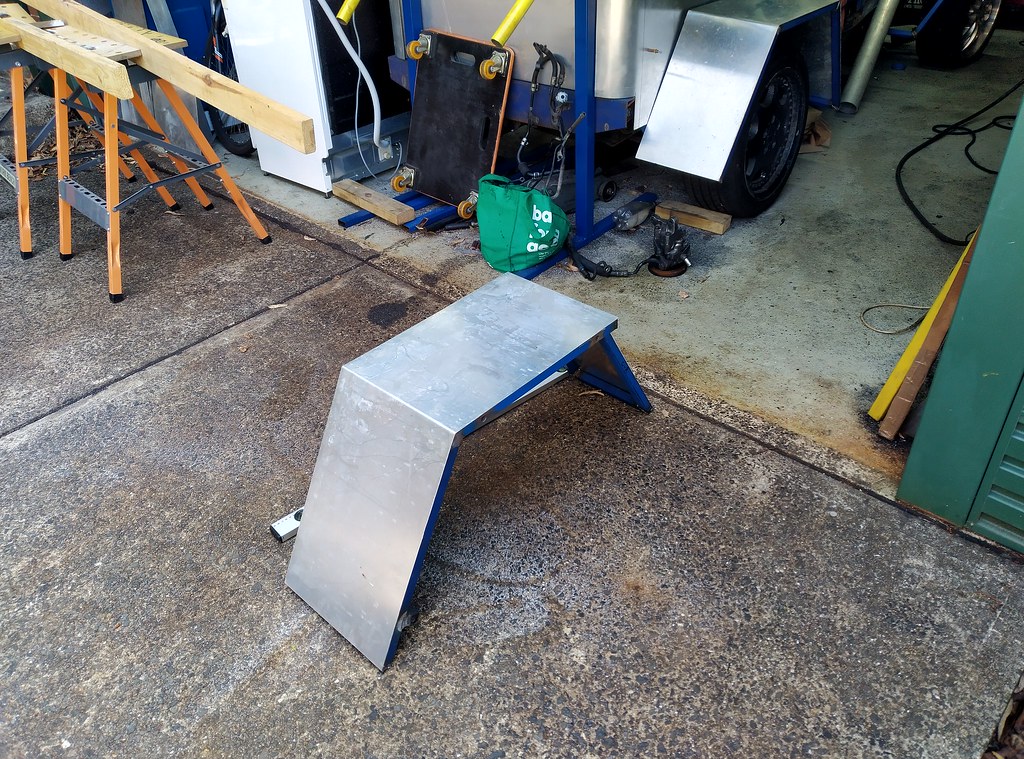
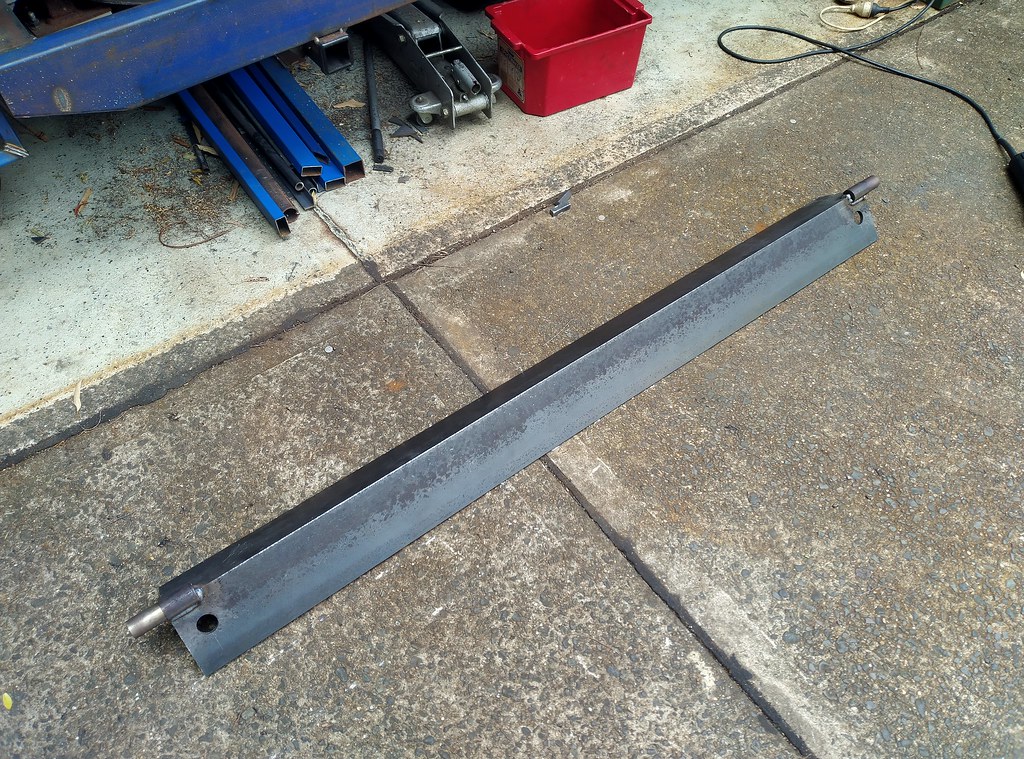
Over the last couple of weeks I've been working on a simple sheet metal brake to help make the remaining aluminium panels on the car. I started with a couple of lengths of 125x8 and one length of 75x8 equal angle.
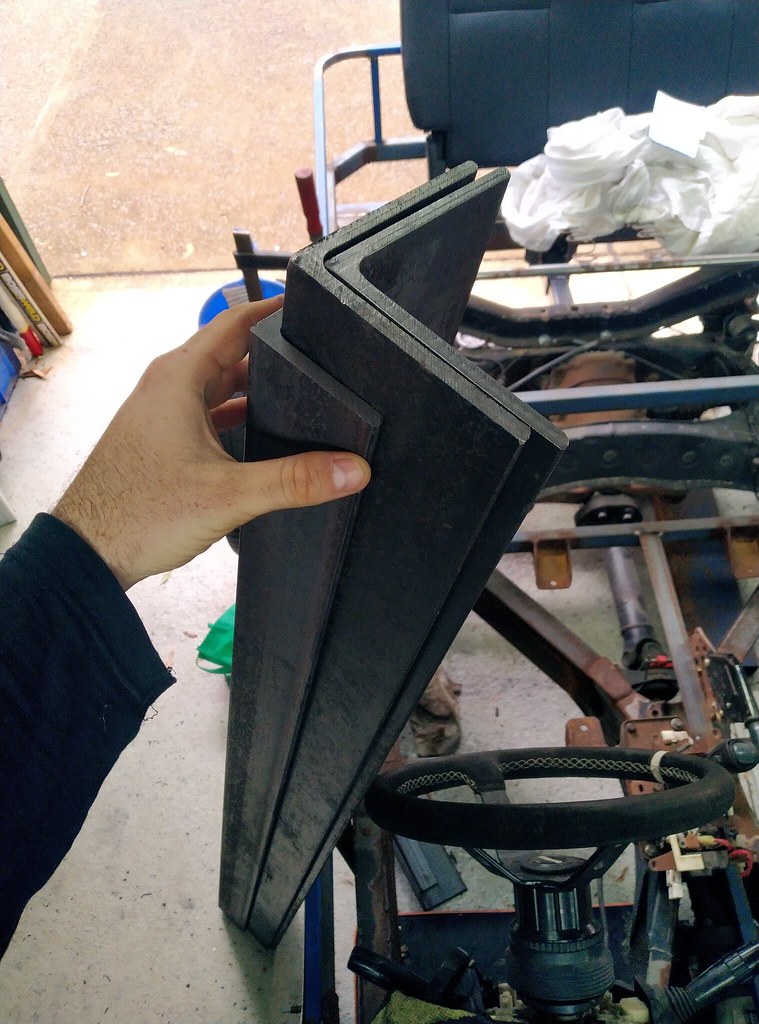
I turned up some heavy duty hinges from some bar stock and pipe that I had in the scrap bin.
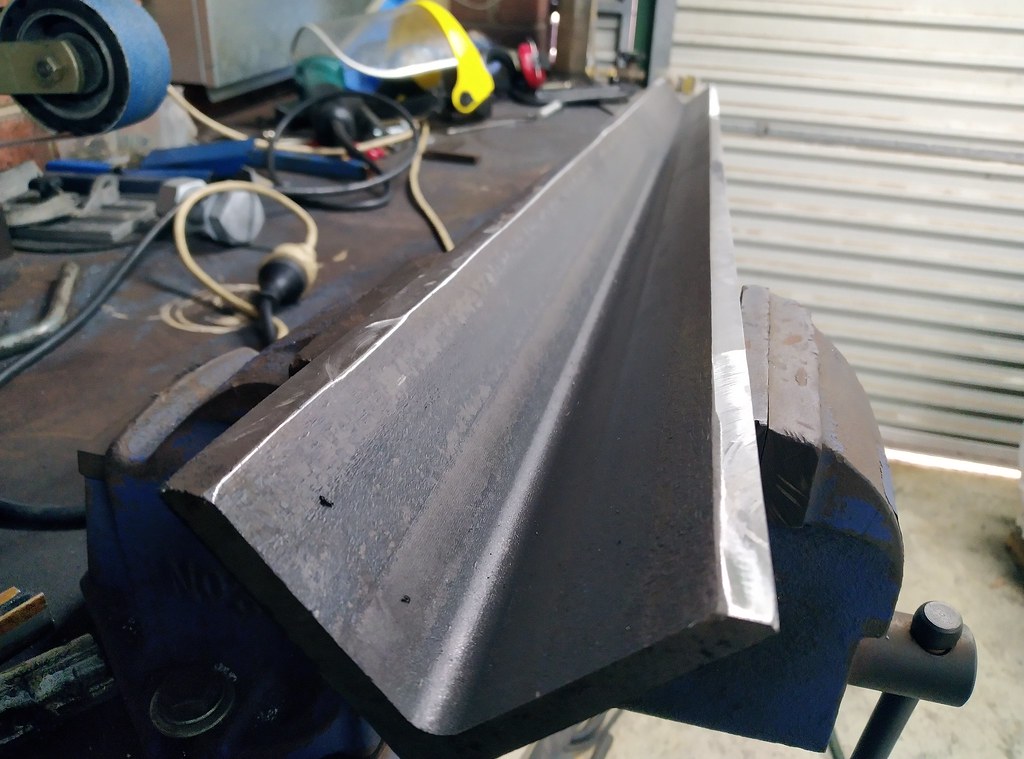
Then I welded them onto the larger angle, using the second piece of angle to hold the pieces axially inline.
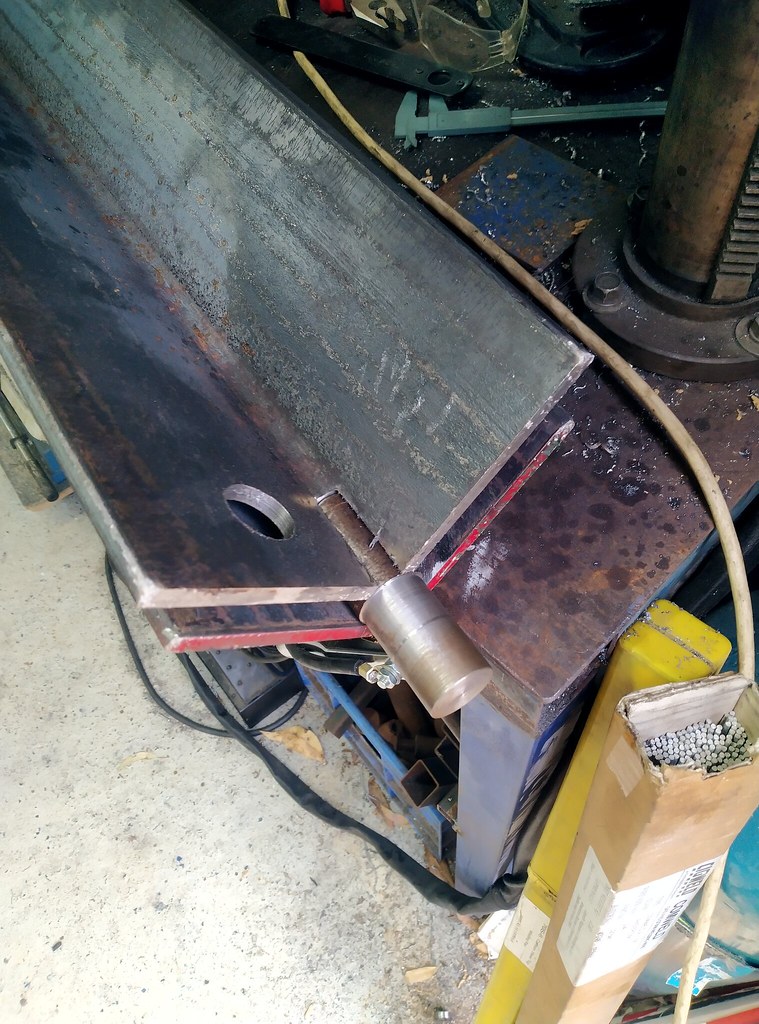
Next step was to flatten the 75x8 angle so it can work as a clamp for the sheet metal being bent.

Initially I used this setup with a slitting saw but it wasn't working very well, so I finished it with a grinder.
Next up another super dodgy setup to drill the 30mm clamp bolt holes
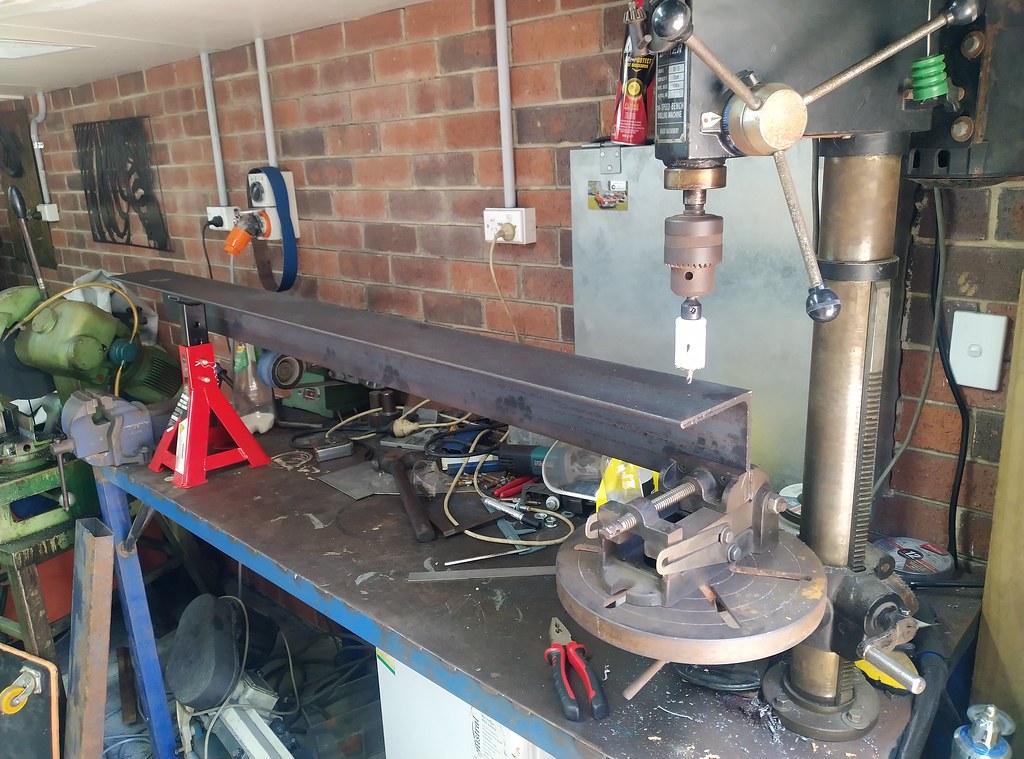
But it worked, and here's the almost finished pivot assembly.


Some finessing and the first test bend came out perfectly.
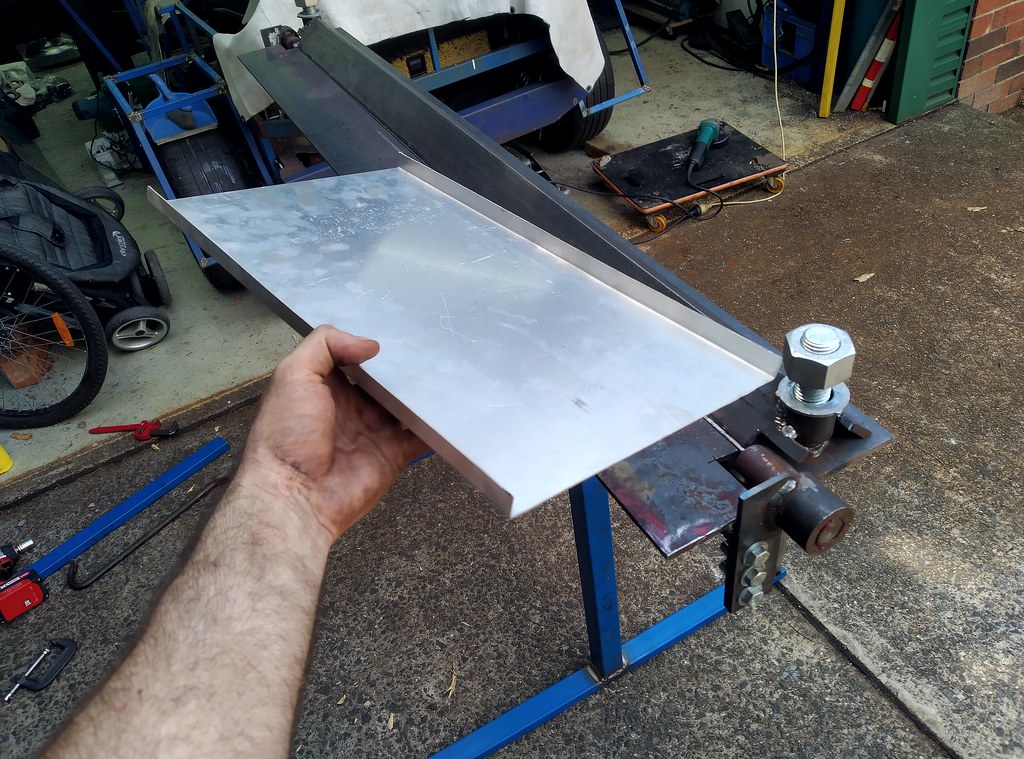
I still need to add handles, a brace for the top of the clamp bar, and a couple of adjusters to set the setback of the clamp bar for different thickness materials, but it works!
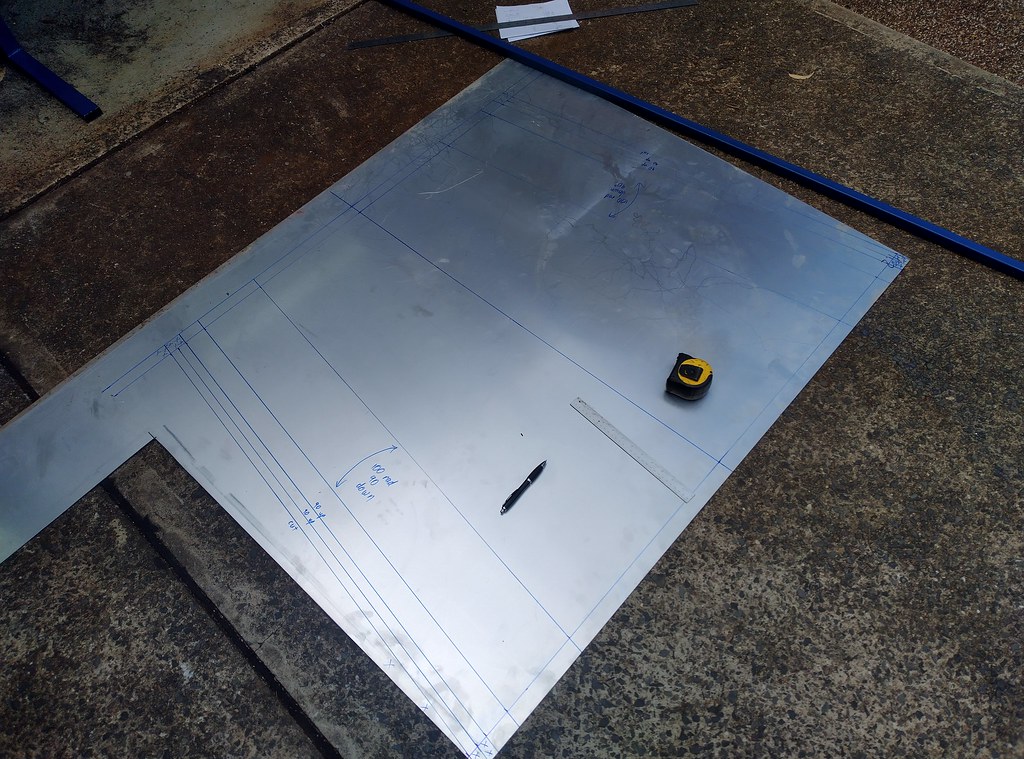
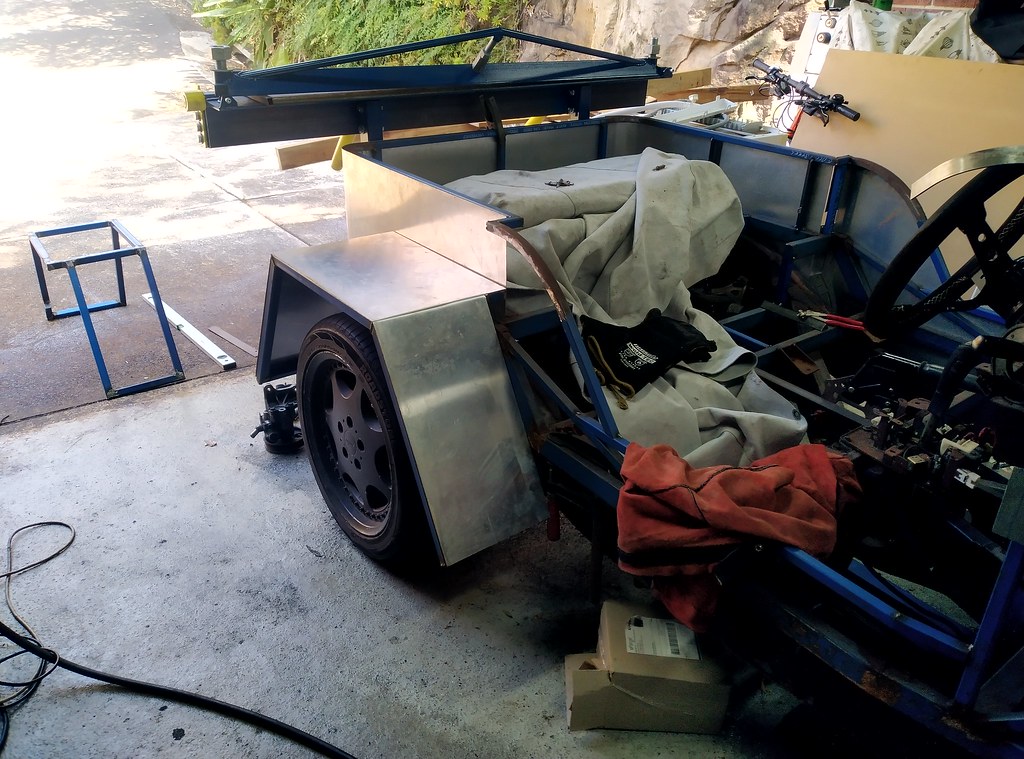
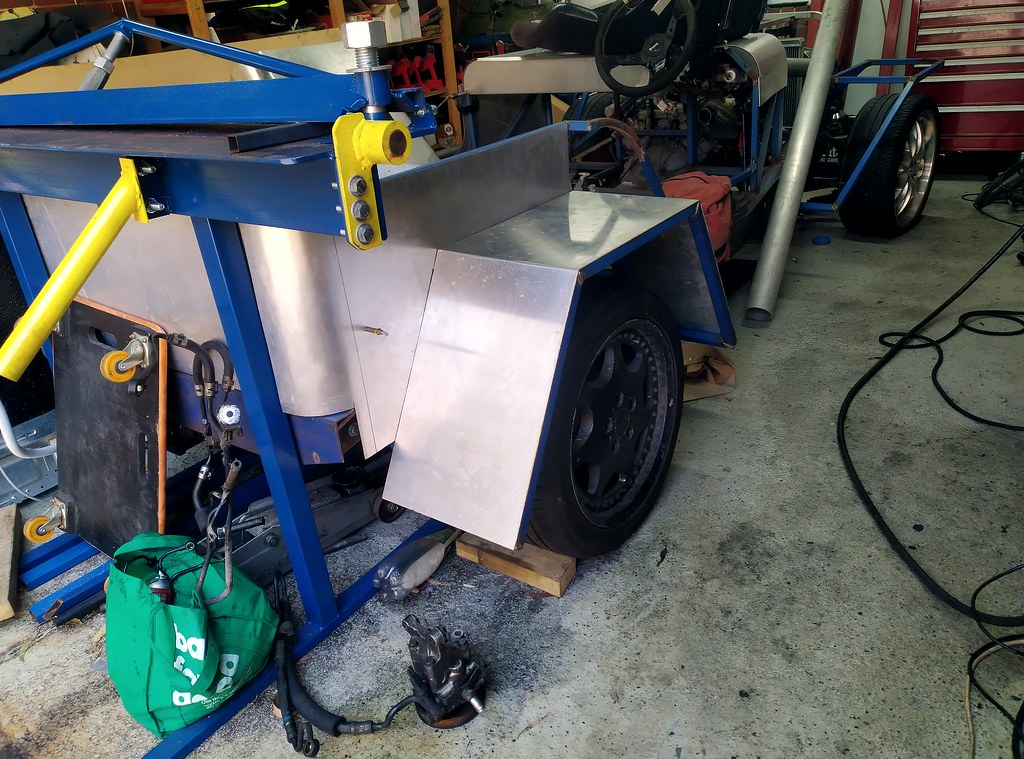
Hopefully I'll get it finished off next weekend and I can get the rest of the aluminium panels made up fairly quickly.
_________________
Scratch built turbo V8 hot-rod in progress
http://locostusa.com/forums/viewtopic.php?f=18&t=19549