No huge milestones but steady progress this fall.
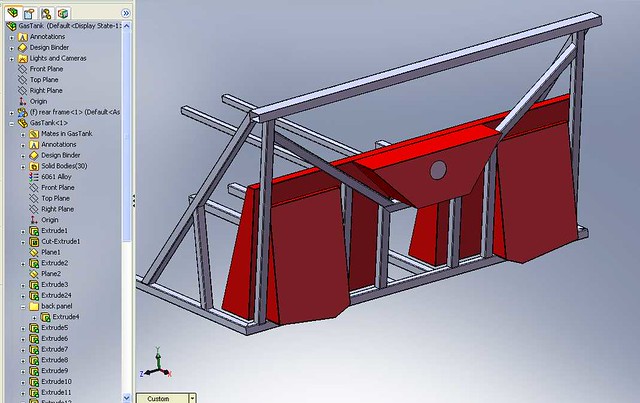
First is the gas tank. Most people put the tank in the 'trunk' but it fills it completely. I am pretty committed to being able to carry two helmets and a weekend bag back there so the tank was going to be impossible to fit. Given my seats don't flip forward there was totally wasted space between them and the rear bulkhead. I drew up a tank that holds 12 gallons (not going to want to sit in the car for longer highway stints than that) and uses every cubic inch back there but nothing in the trunk except filler neck. Before anyone worries for my life, there will be a sealed firewall between the tank/trunk and the seats!
 screenshot.43
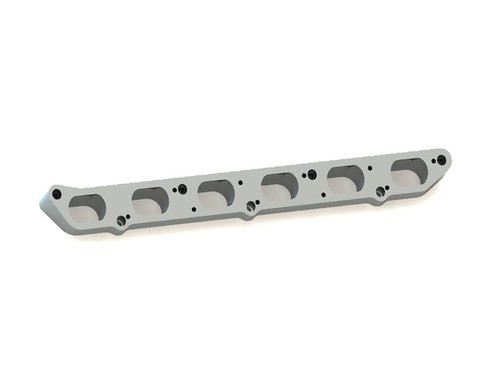
I again had outstanding results from emachineshop.com. I exported a drawing to their software, got a price instantly (only $100 more than the raw material for 20 something pieces), clicked 'buy,' and a fuel tank 'kit' showed up at my door 6 days later.
 https://flic.kr/p/ZTHvDr
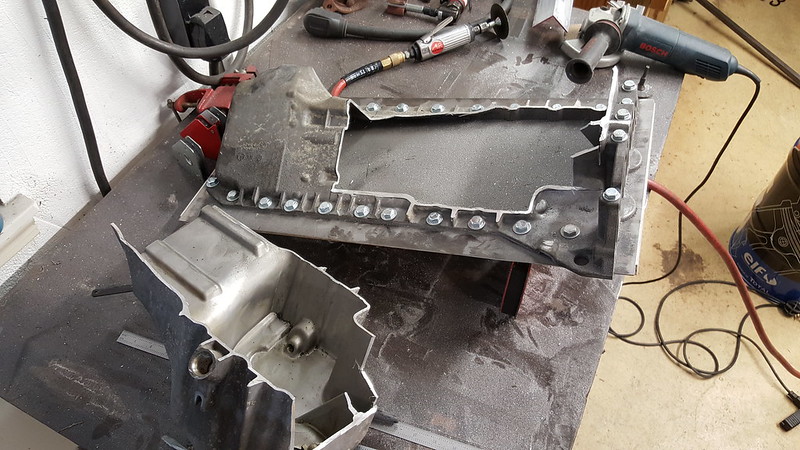
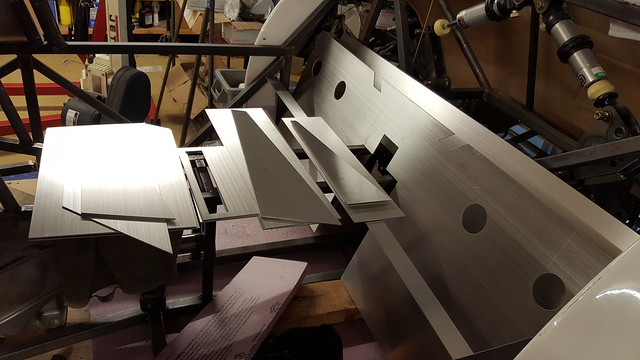
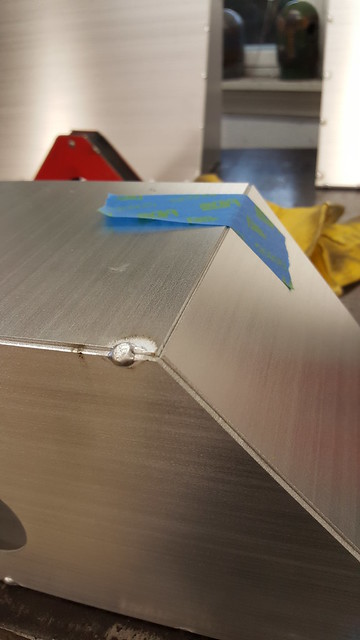
 I took the time in the model to use the right material thickness and work on the overlap for the joints so it went together so easily. No measuring needed whatsoever, just some blue painters tape on the joints and tack together. Had the whole thing tacked up in 4 hours. It would have taken an entire day just to cut out the pieces if I went the arts and crafts route. (and they would have looked like the dog gnawed them out with his teeth)
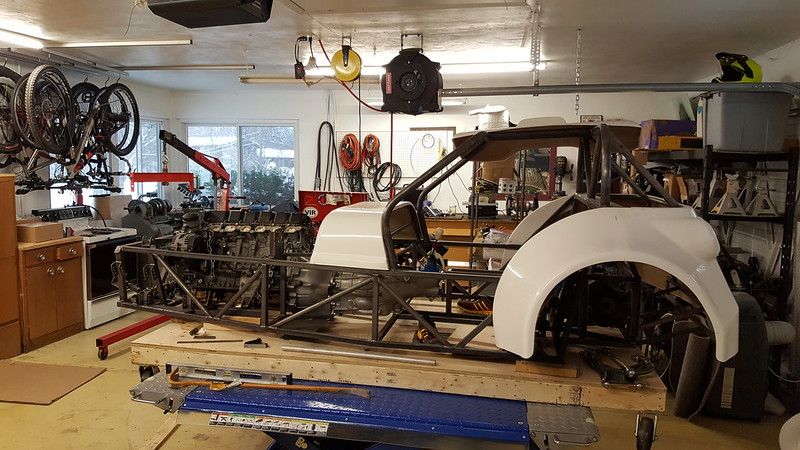
 https://flic.kr/p/ZU4vkF
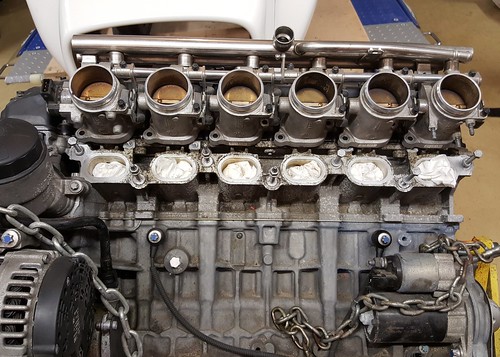
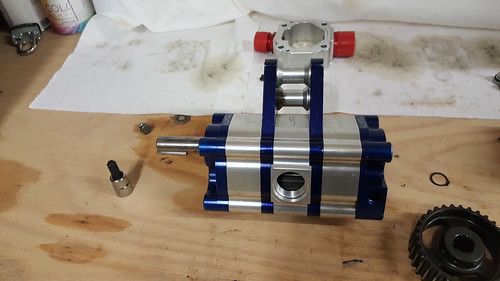
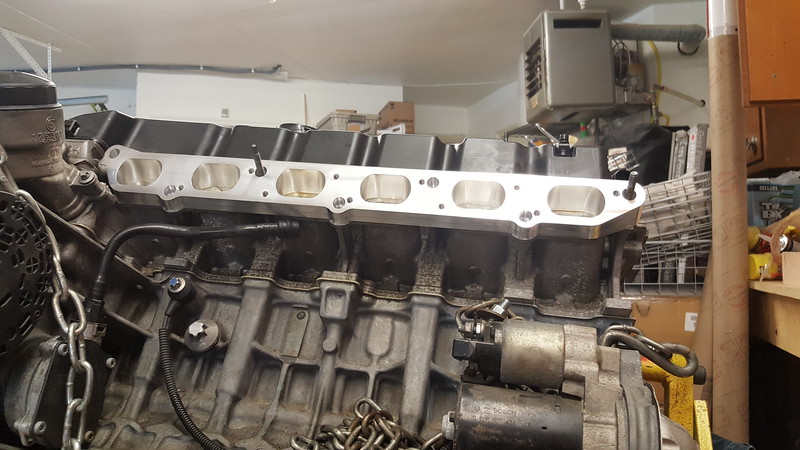
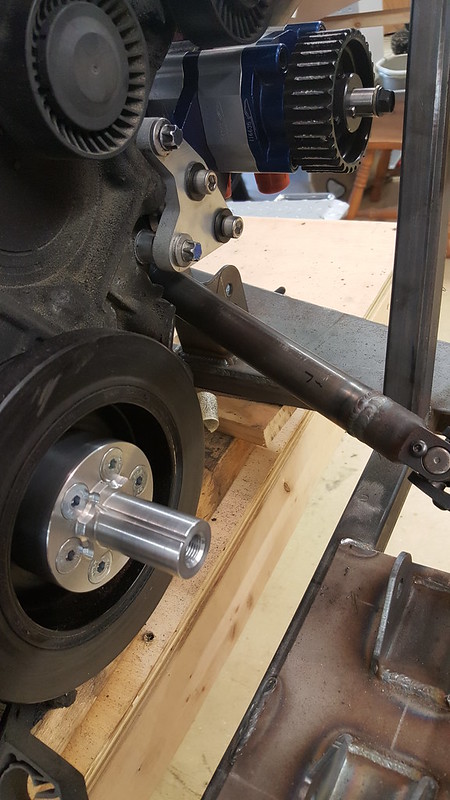
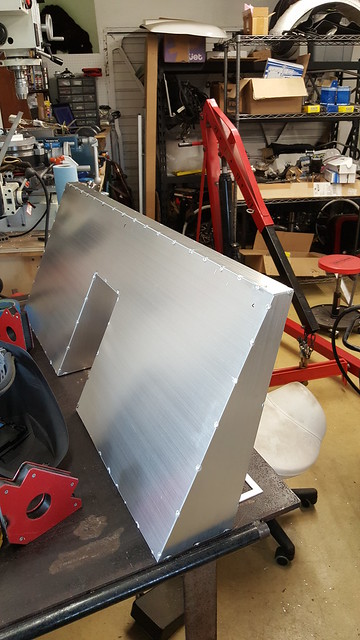
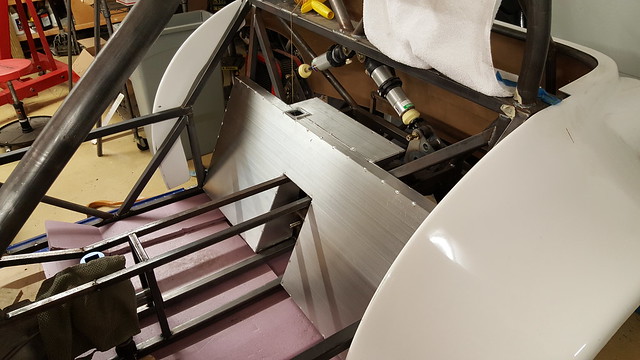
 Probably my favorite part of the project is seeing the computer parts come to life.
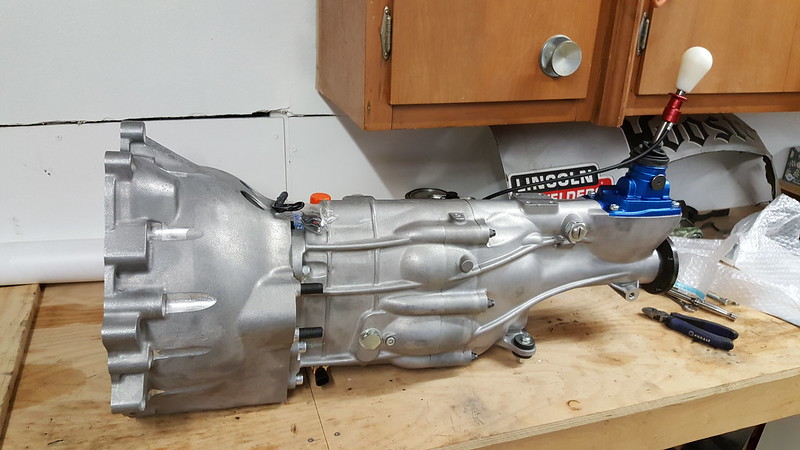
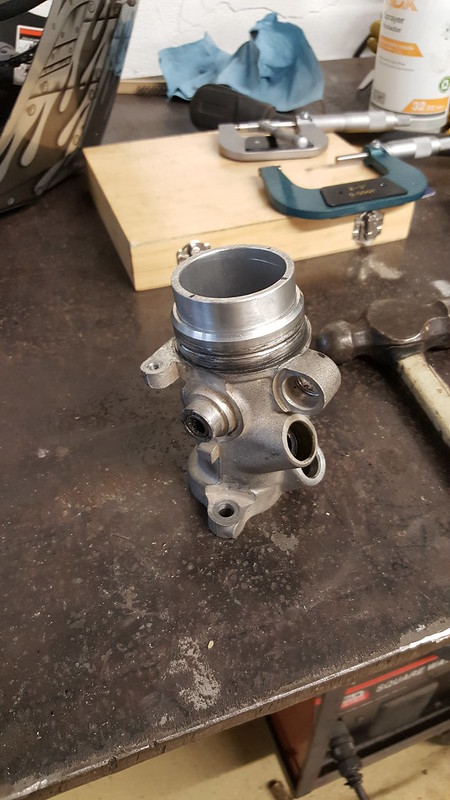
 https://flic.kr/p/CN2uN3
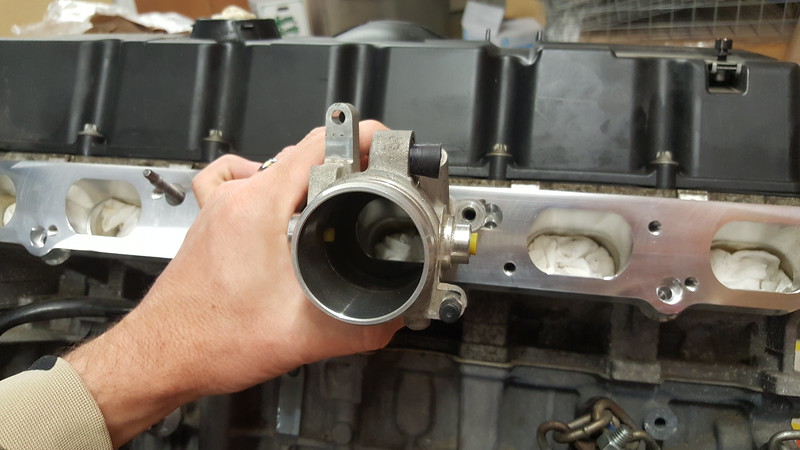
 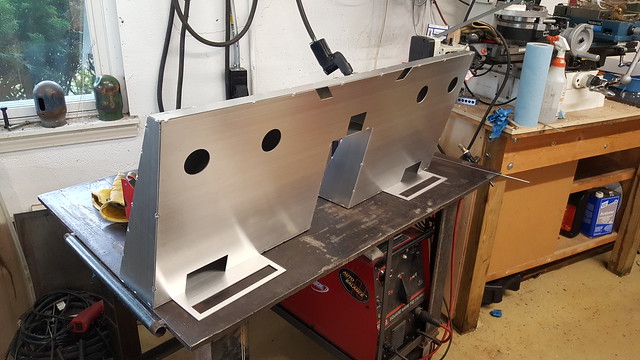 https://flic.kr/p/ZPkjaN
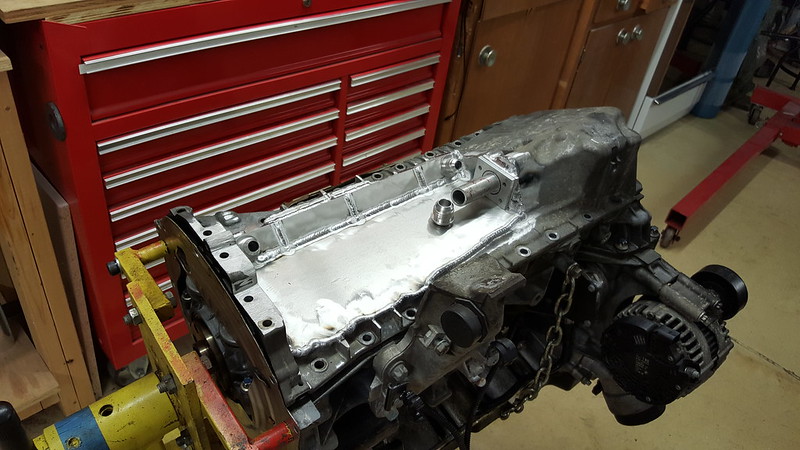
 Fits!
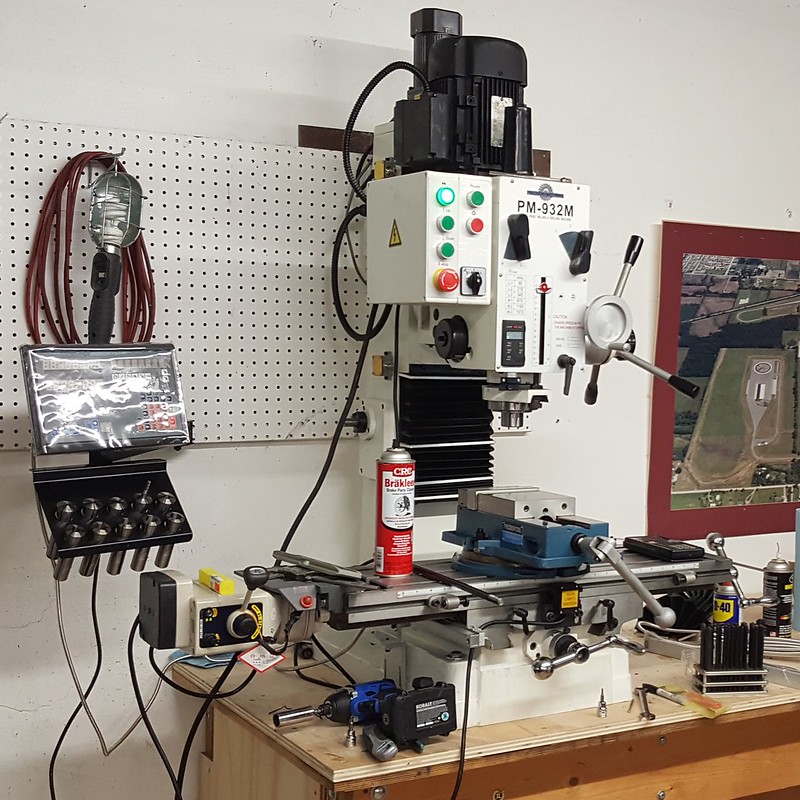
 https://flic.kr/p/YPpfhA
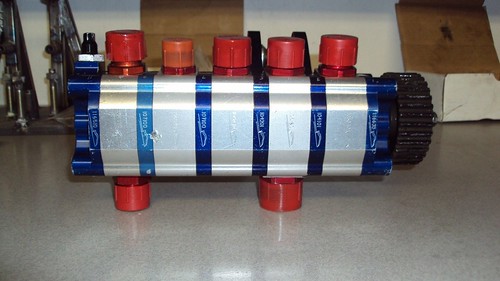
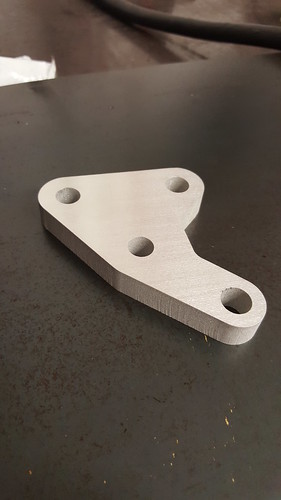
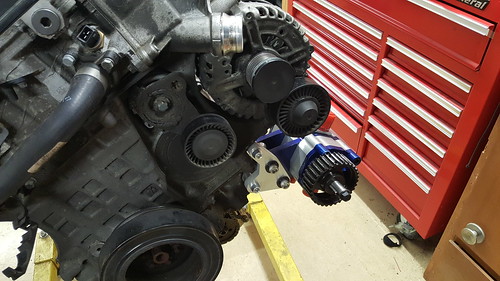
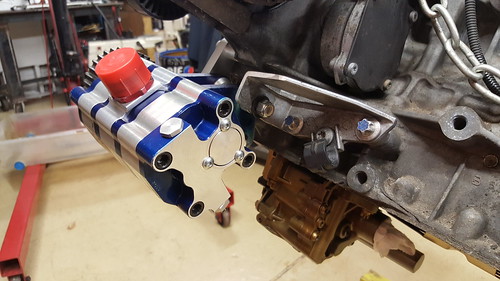
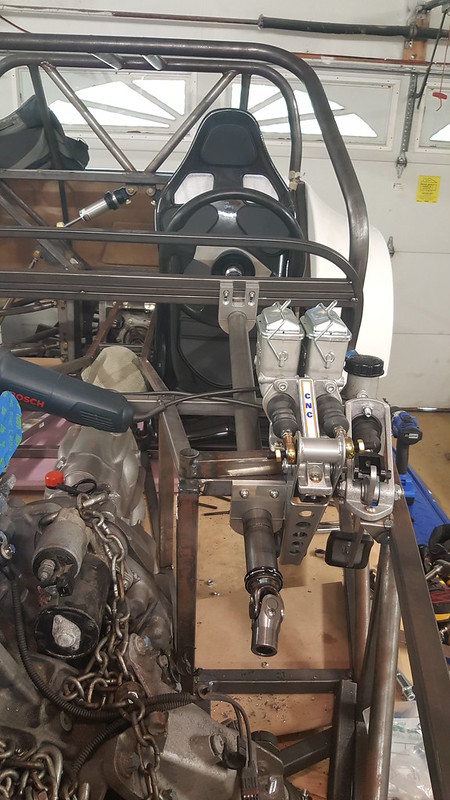
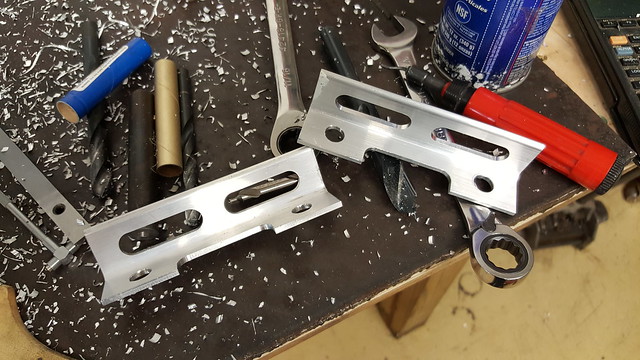
Got the dry sump tank mounted. The mill makes things so much easier and you get to add speed slots to everything!
 https://flic.kr/p/ZpFH2i
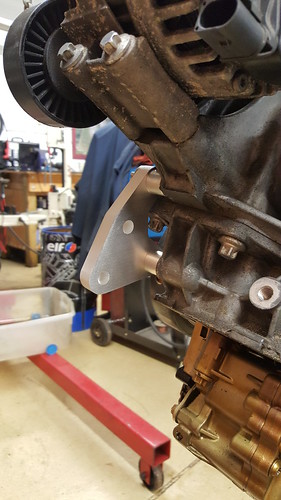
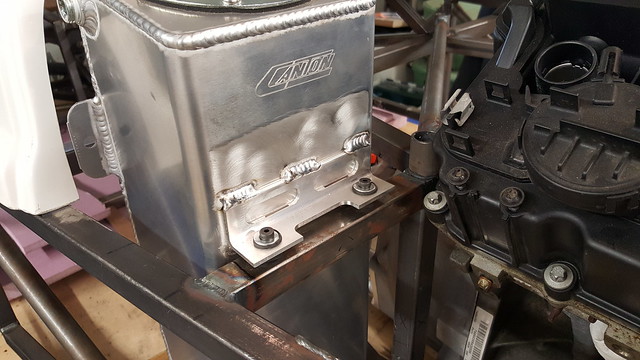
Mounted on rubber to save the aluminum mounts from cracking and to keep the noise down, dry sumps 'moan' on street cars.
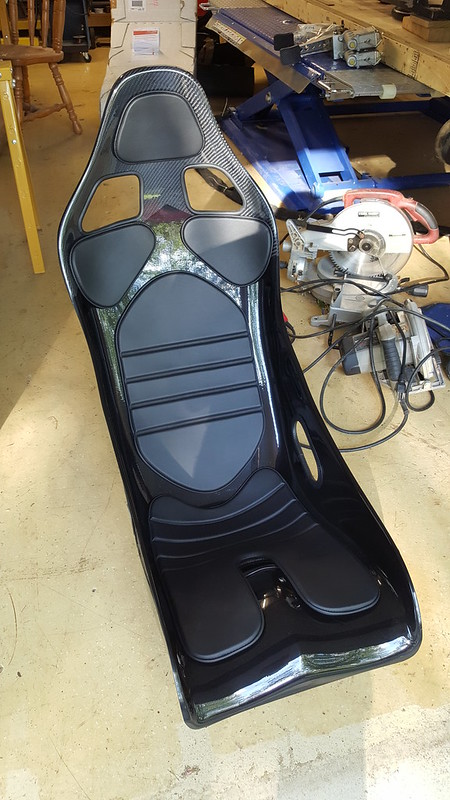
 https://flic.kr/p/Z1S9fb
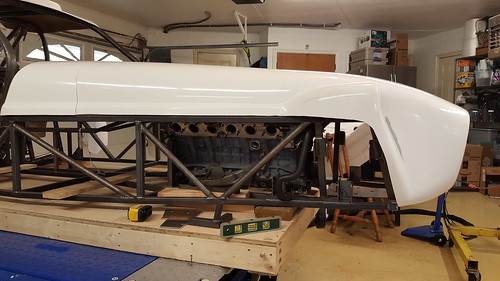
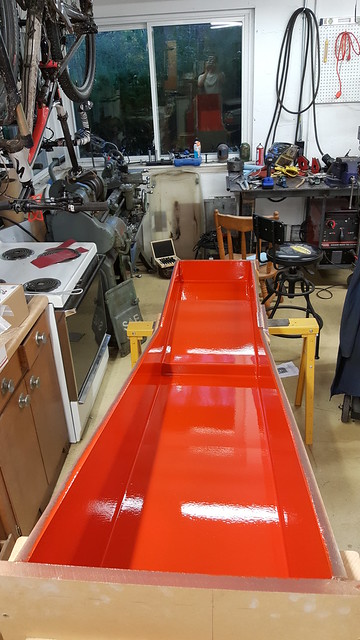
 Slowly working on the two body pieces I need to make. The LS stalkers just shove headers out the sides of the engine compartment but half my BMW engine bay is not that attractive so I need a couple side panels. These also have a step that looks like venting but actually gives you a couple inches wider footbox. Mold is duracoated now, needs some wet sanding before I can pull the two parts out of it. Yes, there's a draft angle so even thought it's not the prettiest composite design it will at least come out of the mold.
I'm no painter and I did these in the driveway (snatching leaves out of the air before they could rest on the wet paint!) so overall I'm pretty pleased with the finish. A bit of wet sanding should knock down the orange peel but even that isn't so bad as is. The duracoat flows really well, strongly recommended over regular paint for a composite mold.
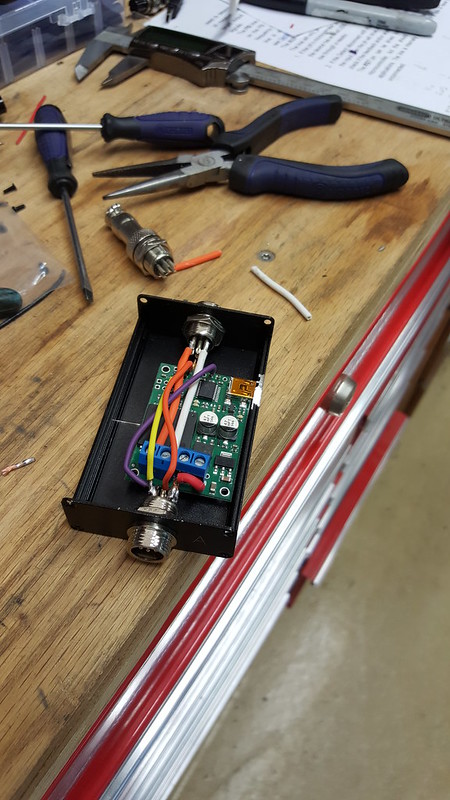
 https://flic.kr/p/YPp859
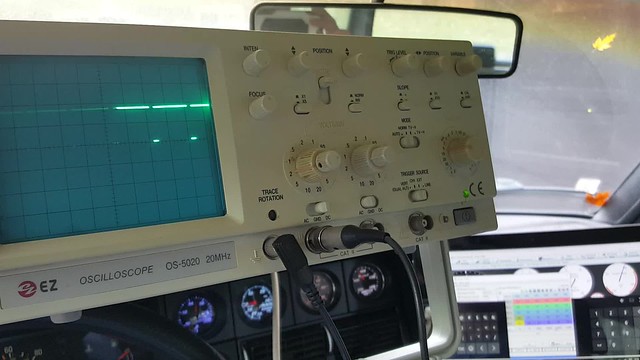
Finally some electrical fun. I've wanted an oscilloscope my whole life. I needed to diagnose the PWM signal from the megasquirt I'm using for the throttle motor so I broke down and ebay'd one. I could have done a digital scope but the inner hipster in me wanted an old analog like we had in high school. Worked like a charm, 10 minutes from hooking it up to fixing the issue. (the Volvo is my test bed for the throttle control)
This is a video if you're a dork and want to reminisce about analog oscopes.
 https://flic.kr/p/ZRnfQb
Next up is a radiator, driveshaft and then maybe some aluminum panels!
Alex